Documentation
Manage Servers
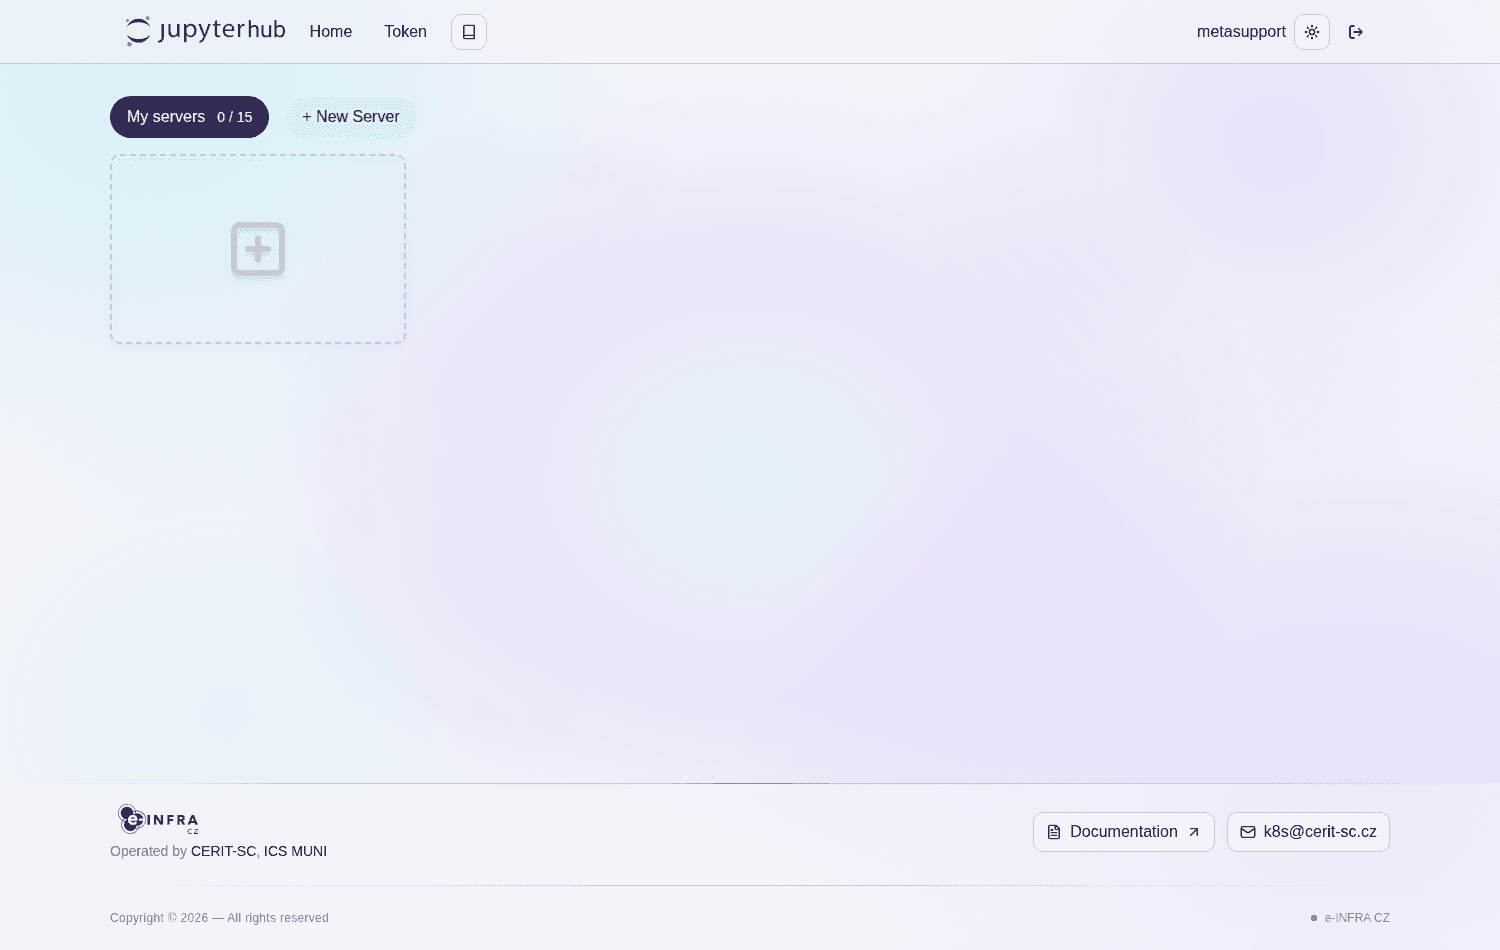
All your named servers are managed from the Hub Control Panel: in JupyterLab, go to File → Hub Control Panel (top-left corner), or visit hub.cloud.e-infra.cz/hub/home directly.
From there you can create, stop, delete, and log in to servers.
Adding a Server
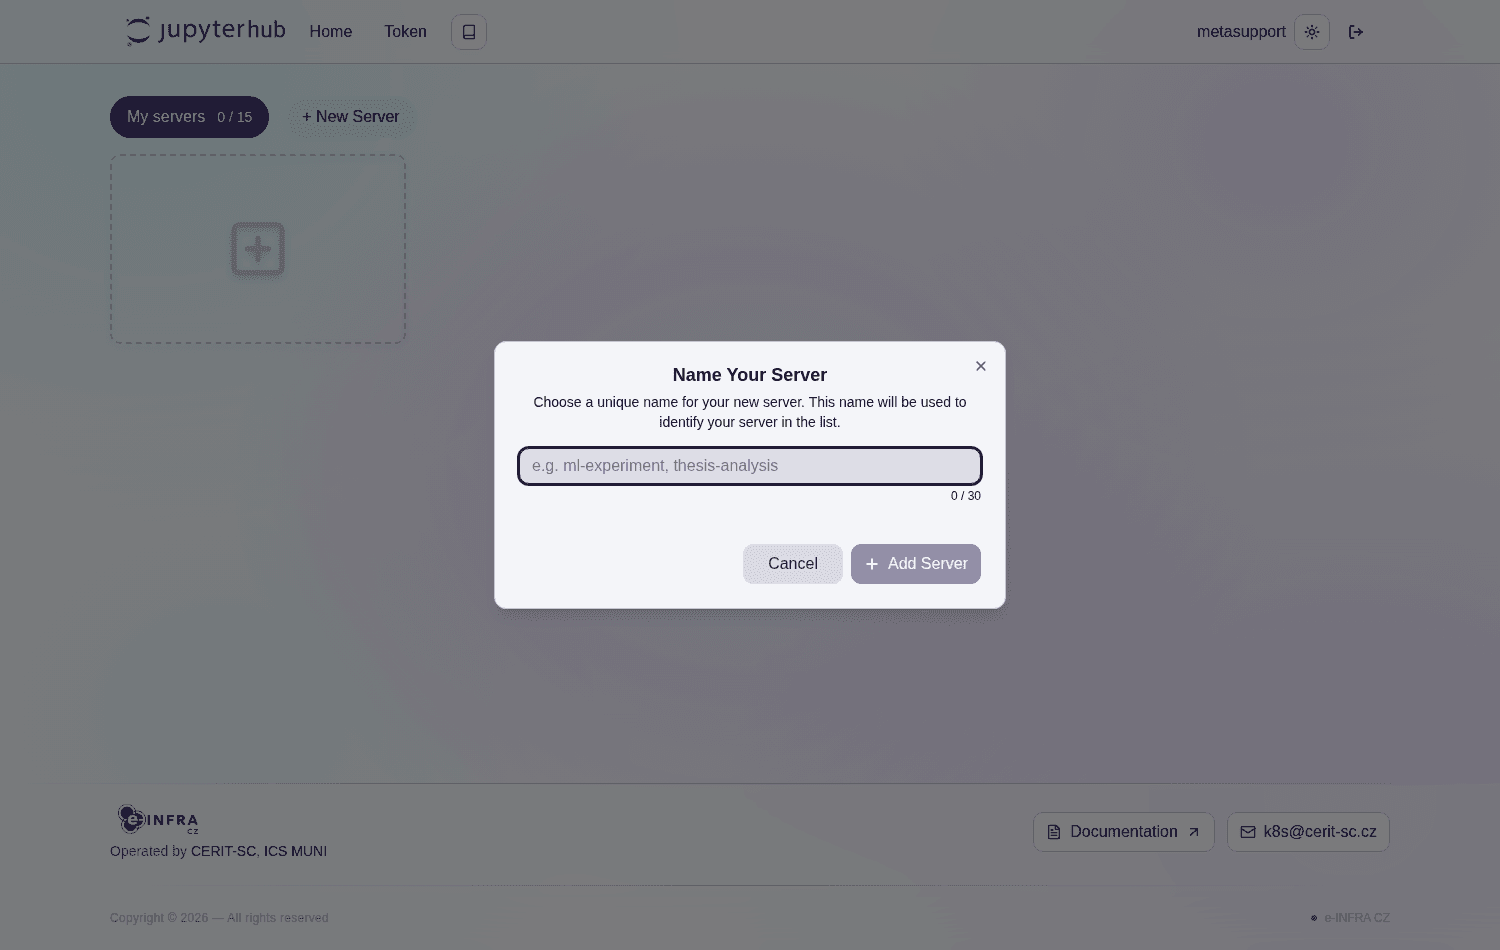
JupyterHub allows spawning more than one notebook instance — you can run up to 15 servers of various images at the same time. On the hub home page, click + New Server, fill in the Server name (a short, descriptive name, up to 30 characters), and click Add Server; you will be presented with the server configuration form (see Start a Server).
Deleting a Server
- Go to File → Hub Control Panel (or the hub home page). A stopped server card offers
StartandQuick Start; a running one shows live CPU and memory usage withOpenandStopbuttons.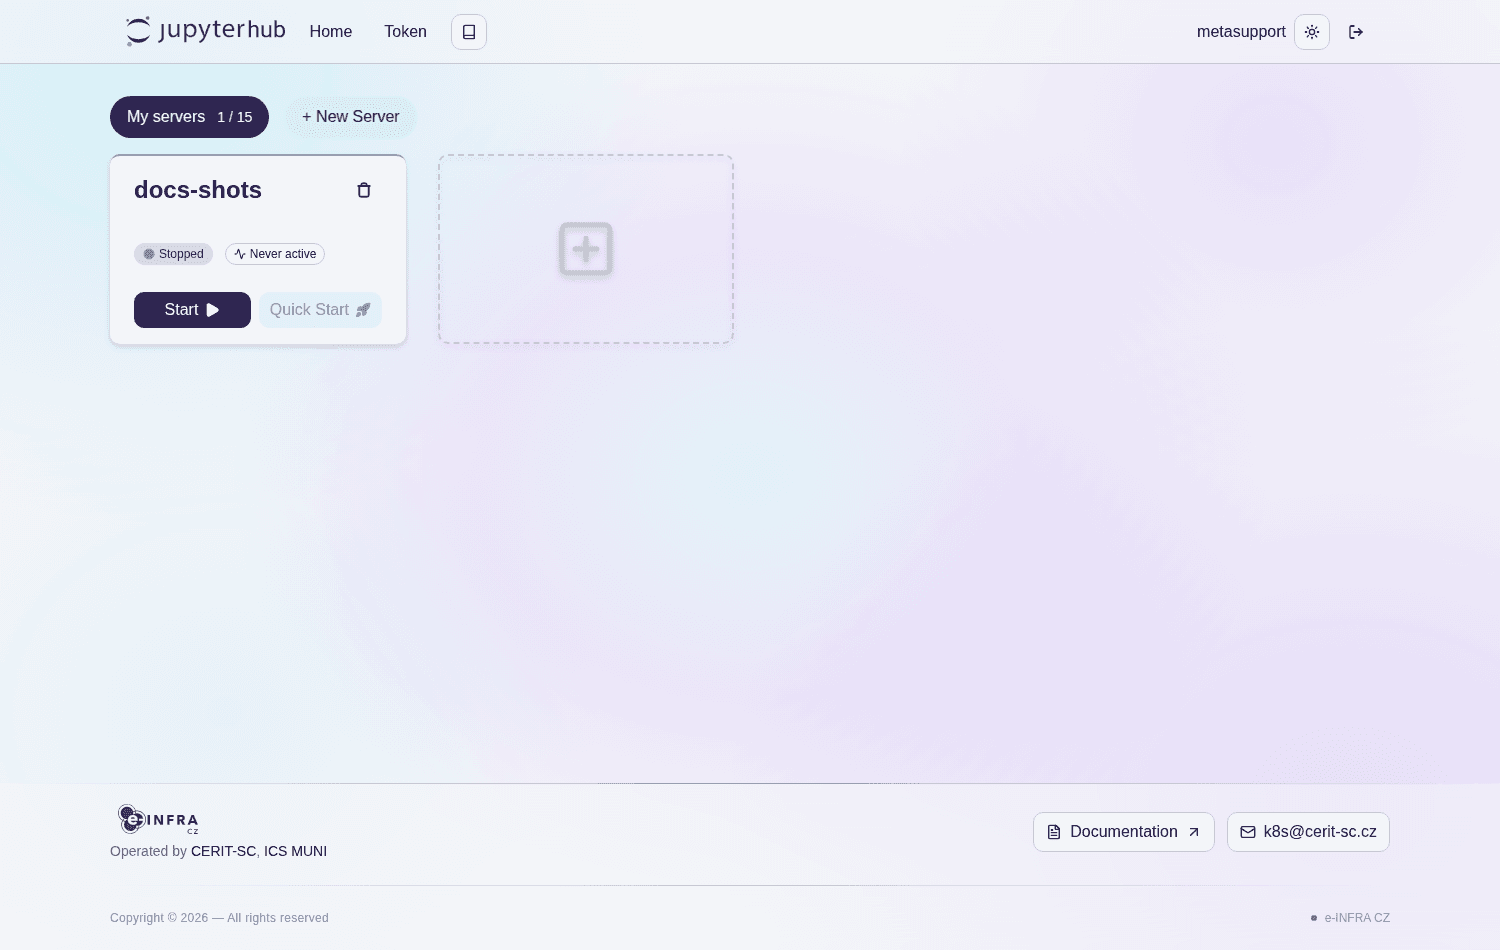
- Click
Stopon the server card and wait for it to stop. - Open the server card’s menu (the
⋮icon next to the server name) and chooseDelete Server. - Confirm in the
Delete Serverdialog by clicking the redDeletebutton. The confirmation notes: “This will stop the server and remove it from your list. Any unsaved work and running processes will be lost, but your persistent data will not be removed.”
Your persistent storage in /home/jovyan remains intact unless you explicitly delete it during spawn. To spin the instance up again, click + New Server, fill in the Server name, and click Add Server; the configuration form appears (a stopped server can also be relaunched with Quick Start).
Sharing Your Live Notebook
Need a colleague to help debug your code in real time, or want to move your session to another browser? You can share access via an API token.
- Go to File → Hub Control Panel (top-left menu) and open the
Tokenpage in the top navigation bar.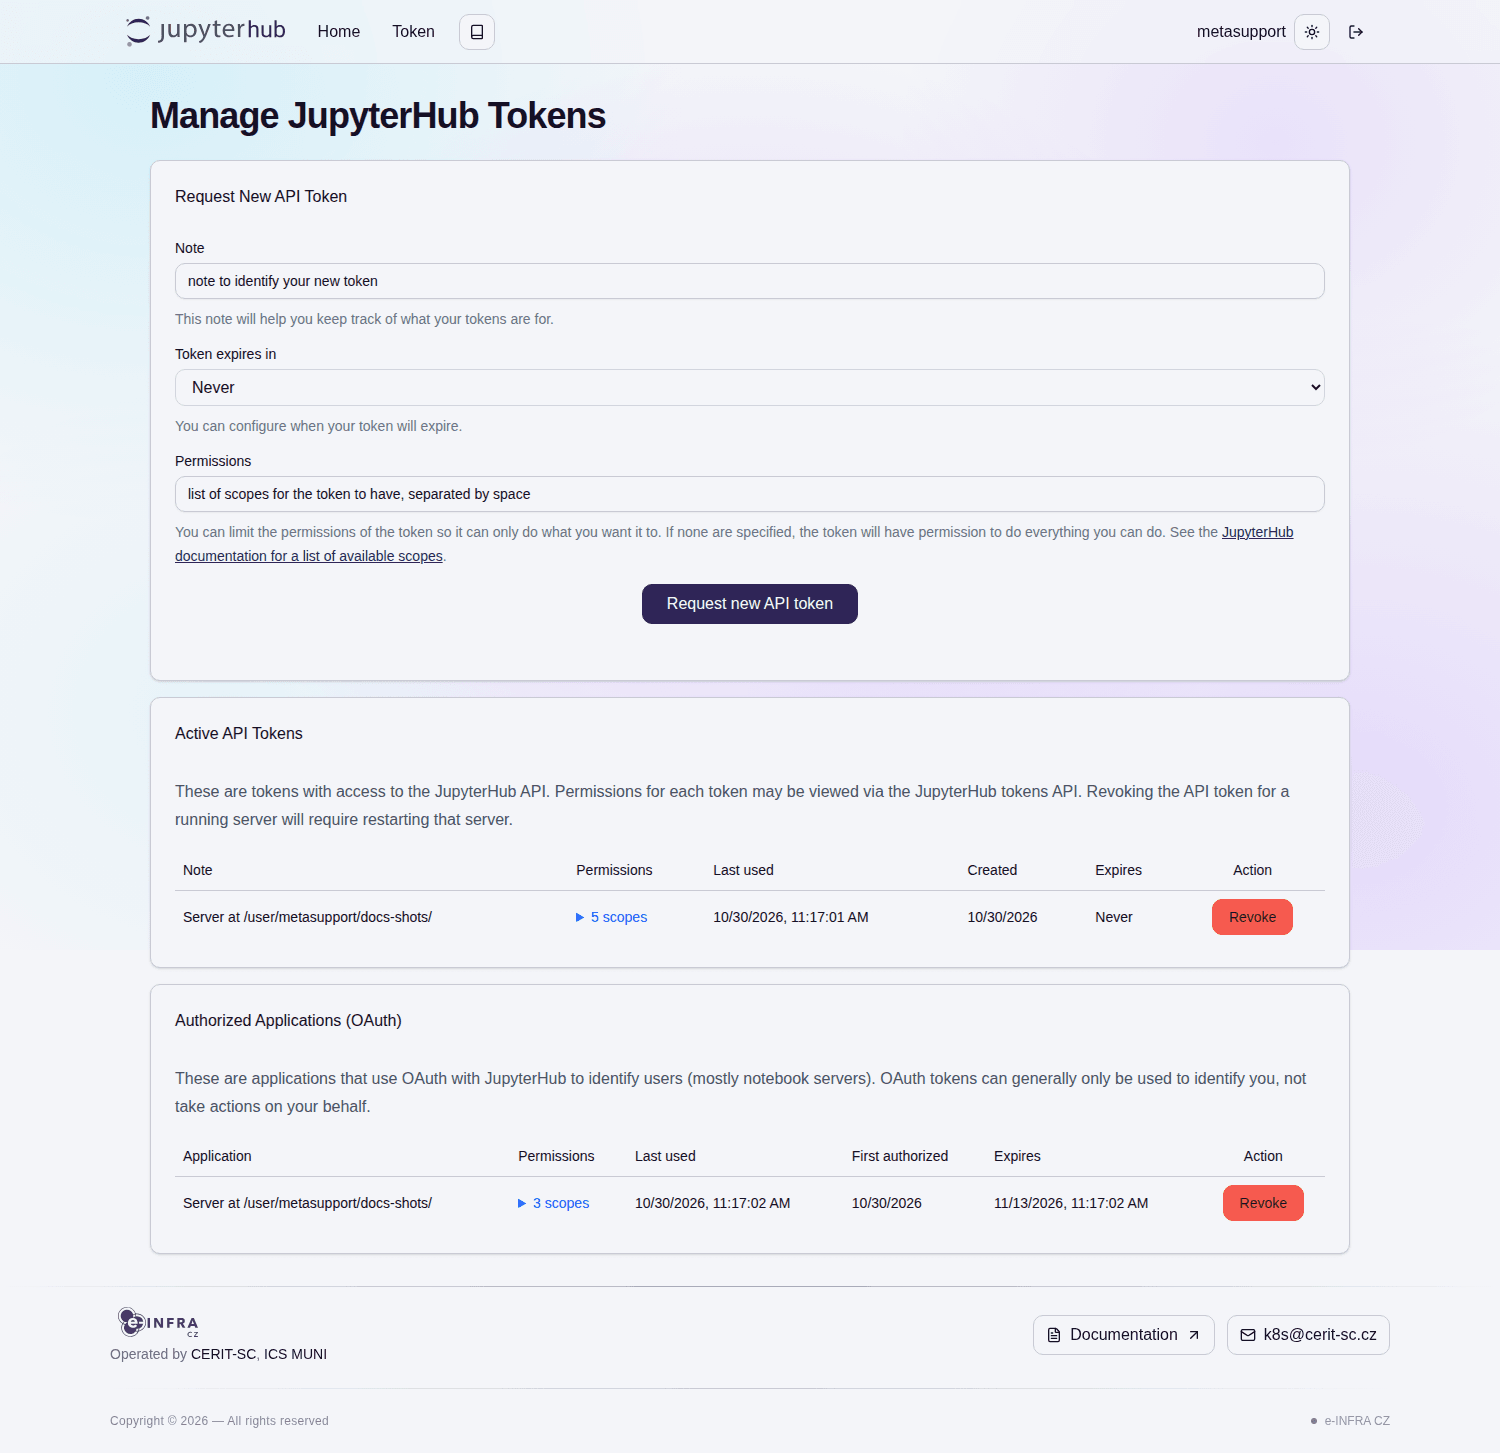
- Enter a note describing the token’s purpose, optionally choose its expiry and permissions, and click
Request new API token.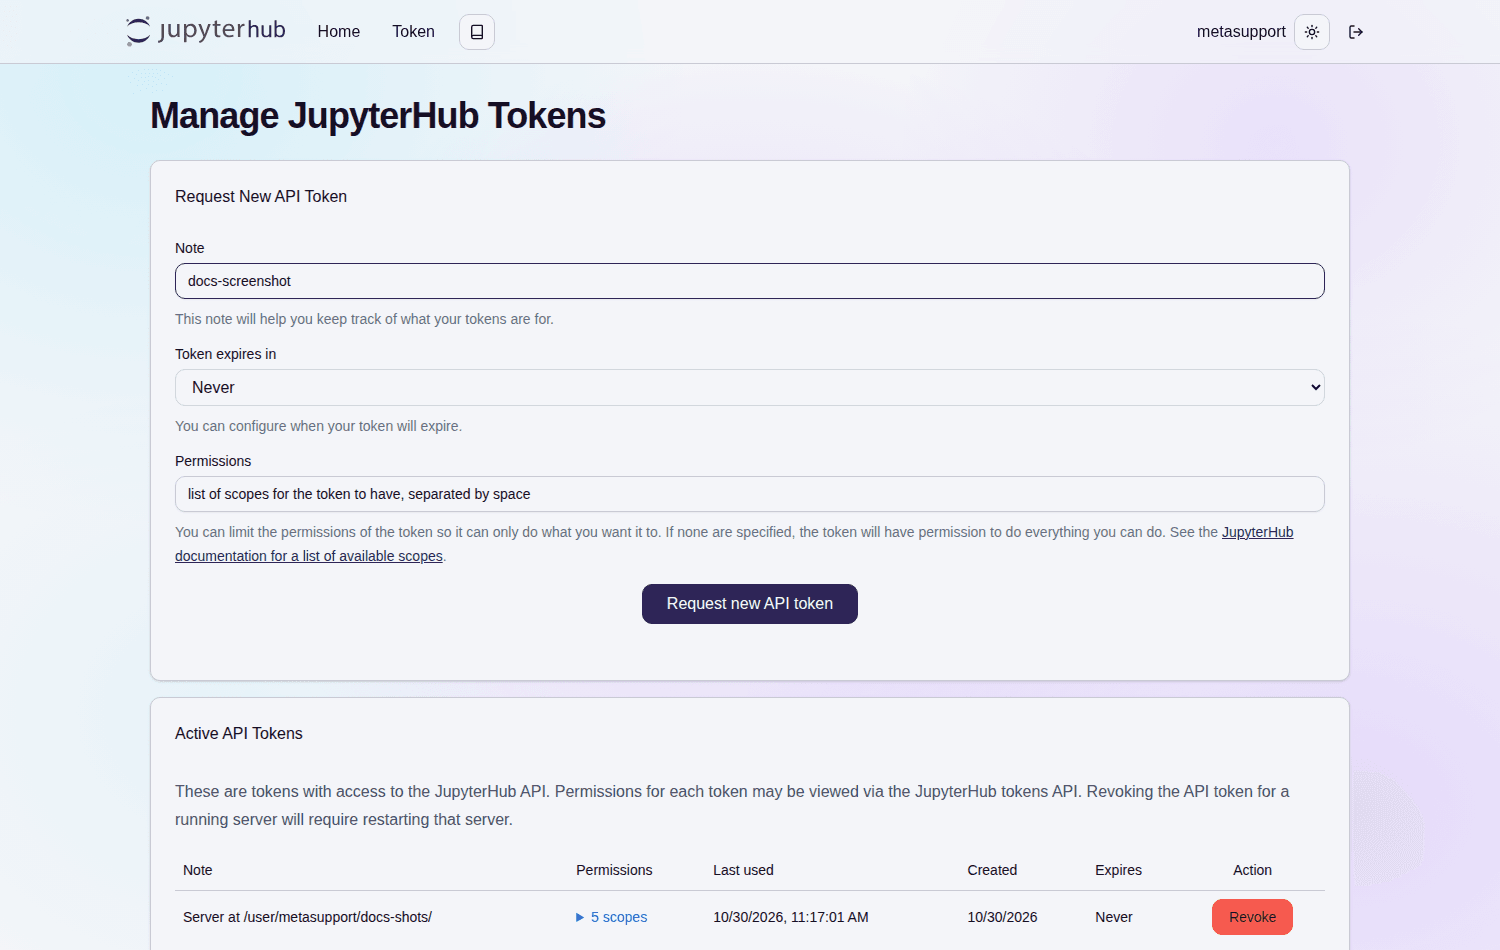
- The token appears in the Active API Tokens list. Copy the token string immediately — it is shown only once.
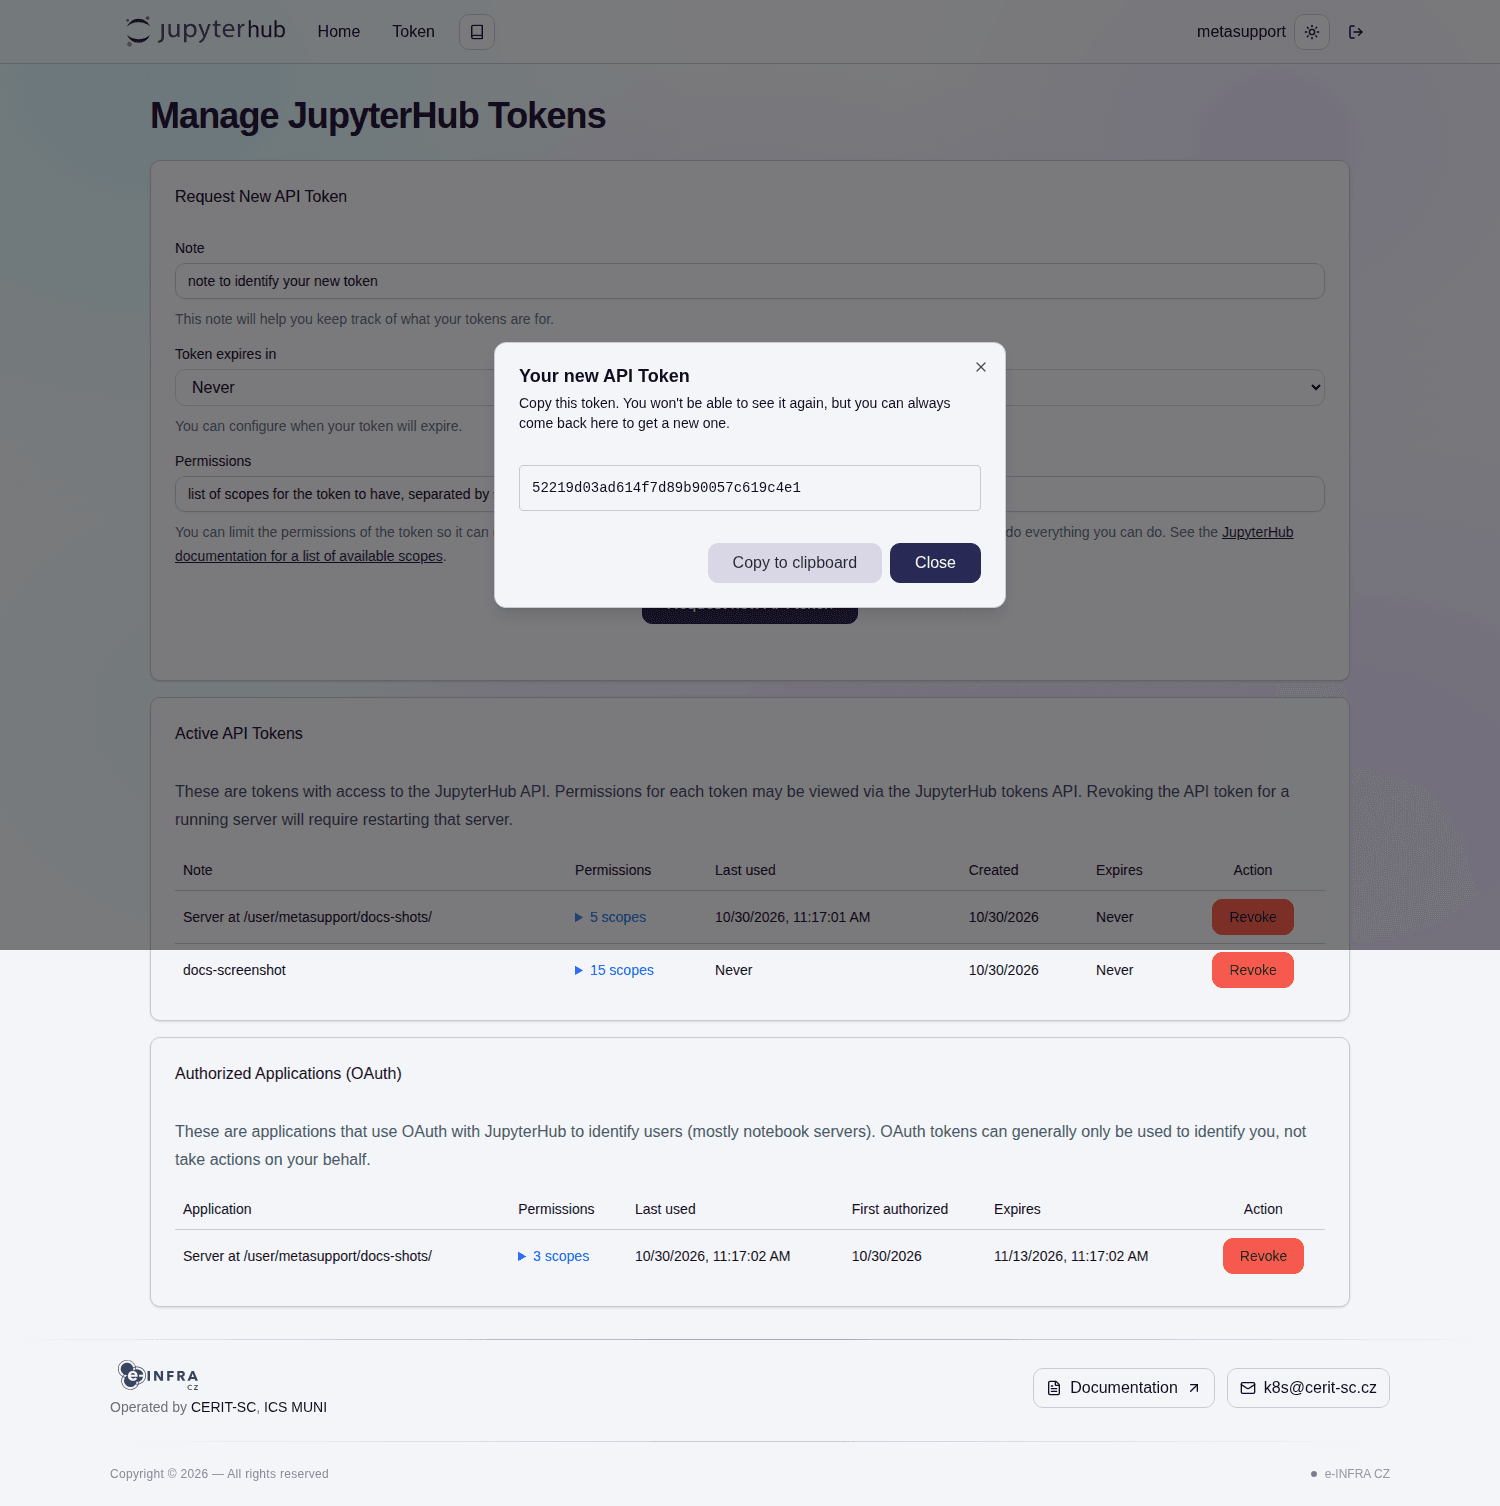
- Copy your notebook’s base URL up to and including
/lab(e.g.,https://hub.cloud.e-infra.cz/user/xhejtman/AI/lab) and append?token=YOUR_COPIED_TOKEN:https://hub.cloud.e-infra.cz/user/xhejtman/AI/lab?token=86c4dc52fa4e4d6298c4ba7d008fc085
Important Security & Sharing Rules:
- Full Access: This token grants access to all of your running notebooks, not just one. Share only with trusted collaborators.
- Use Incognito Mode: The recipient must not be logged into their own JupyterHub account when opening your link—ask them to open it in an Incognito / Private browser window.
- Save the Link: Once opened in a browser, the
?token=...part is hidden from the address bar automatically.
Last updated on