 Documentation
Custom Environments
The pre-configured images cover many scientific workloads, but you can customize your environment in two ways: persistent conda environments (install extra packages into your notebook) and custom Docker images (build an image with all your software pre-installed).
Managing Custom Conda Environments
All images support conda. If you need specific library versions (e.g., scanpy, biopython, or a specific scikit-learn) that remain available across sessions, create a custom kernel:
- Open a Terminal in JupyterLab and initialize Conda:
conda init - Create a new environment. Important: You must include
ipykernelandnb_conda_kernels(orirkernelfor R) so Jupyter can see the environment:conda create -n bio_env --yes python=3.10 ipykernel nb_conda_kernels biopython scipy
- Verify your environment is listed:
conda env list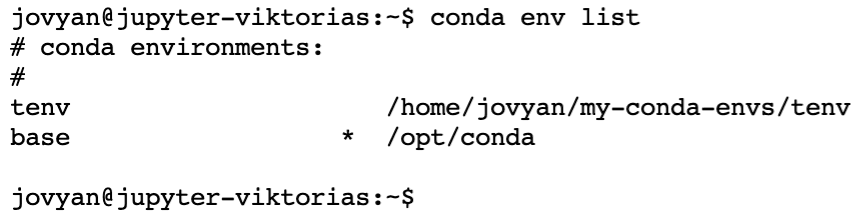
- Install additional packages anytime with:
conda install -n bio_env seaborn - Switch your notebook to the new environment via the top menu: Kernel → Change Kernel… and select
bio_env.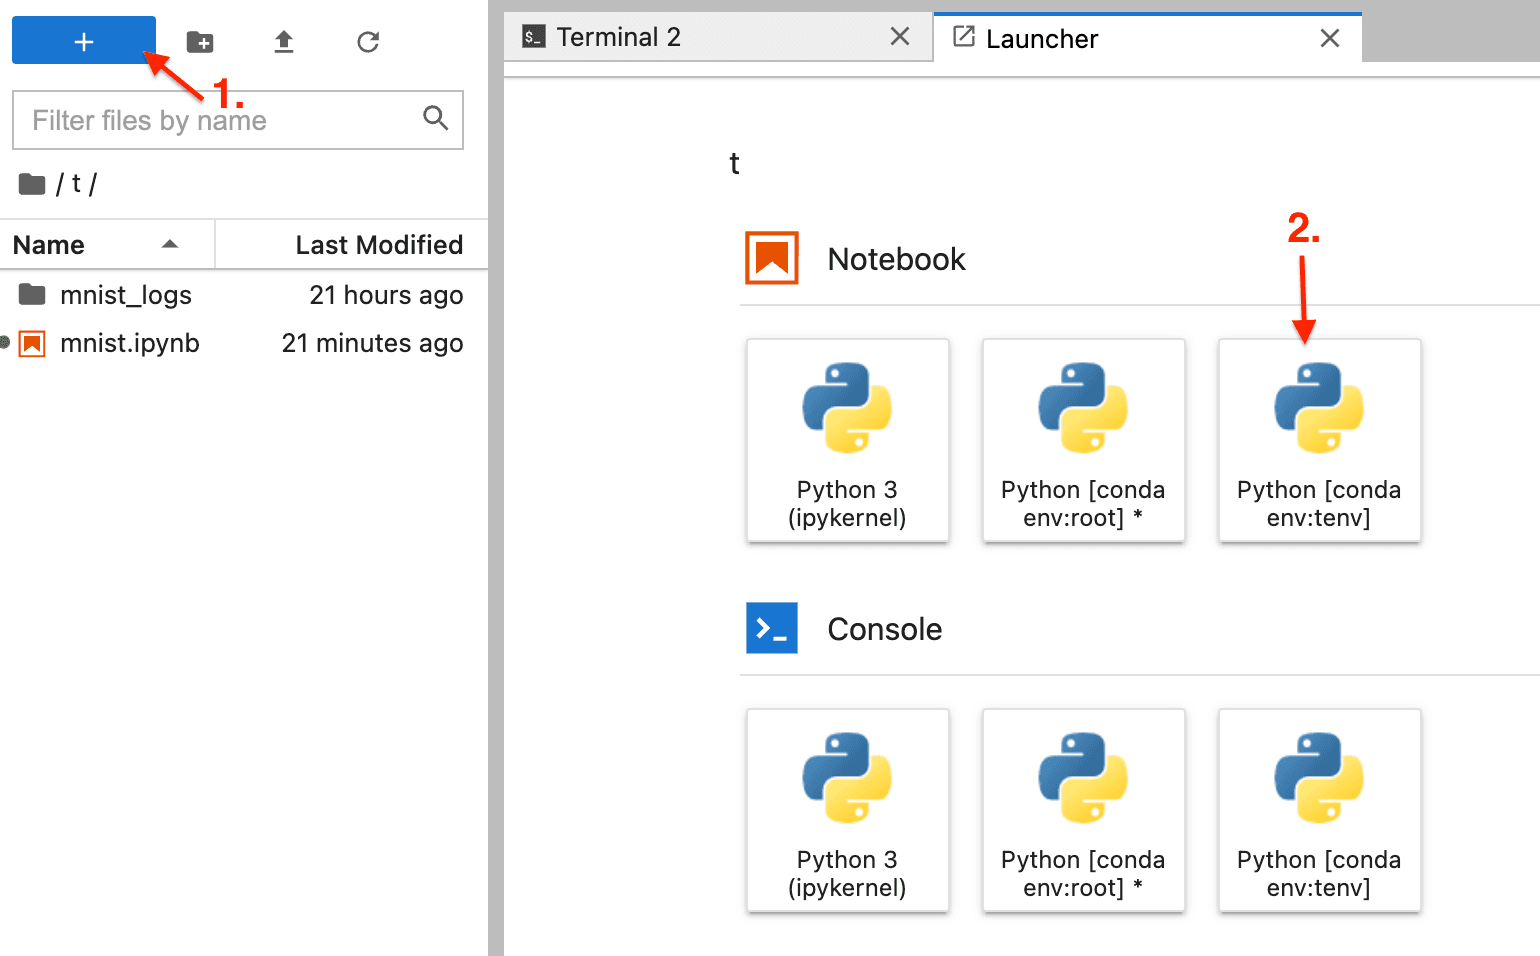
Building Your Own Custom Docker Image
When your workflow needs system libraries or software that conda cannot provide, build your own Docker image. You must supply it as a public image in the format repo/imagename:tag (e.g., hosted on Docker Hub or the CERIT-SC Harbor registry — see also Start a Server).
- Standard Custom Image: Base your
Dockerfileonjupyter/minimal-notebook:hub-4.0.2(see our example Dockerfile). If building from another base image, installjupyterlaband copy start-notebook.py, start-notebook.sh, start-singleuser.py, start-singleuser.sh, and start.sh into/usr/local/binwith Unix (LF) line endings and executable permissions (chmod a+rx /usr/local/bin/start*). - Custom SSH-Enabled Image: Base your image on the current SSH-enabled minimal image (in the spawn form: Minimal NB with SSH access, e.g. tag
minimalnb:01-02-2025), or installopenssh-serverin your custom image:- Add this configuration to
/etc/ssh/sshd_config.d/sshd.conf(or/etc/ssh/sshd_config):sshd.conf Port 2222 AddressFamily any ListenAddress 0.0.0.0 ListenAddress :: StrictModes no PubkeyAuthentication yes UsePAM yes X11Forwarding no PrintMotd no TCPKeepAlive yes PubkeyAcceptedKeyTypes +ssh-rsa - Security Requirement: Delete all existing
/etc/ssh/ssh_host_*files during the Docker build and regenerate them dynamically at container startup in/usr/local/bin/start-notebook.sh:start-notebook.sh #!/bin/bash echo "WARNING: Use start-notebook.py instead" (export LD_LIBRARY_PATH=''; rm -f /etc/ssh/ssh_host_*; for i in rsa dsa ecdsa ed25519; do ssh-keygen -q -f /etc/ssh/ssh_host_${i}_key -N '' -t $i; ssh-keygen -f /etc/ssh/ssh_host_${i}_key.pub; done) LD_LIBRARY_PATH='' /usr/sbin/sshd exec /usr/local/bin/start-notebook.py "$@"
- Add this configuration to
For more on why the host keys must be regenerated at startup, see SSH Access.
Last updated on